Installation Tips & Best Practices
Fast, clear guidance for installing SkyLift™ Roof Risers on common roof types and patio cover layouts, covering layout, roof penetrations/flashing, pitch, cantilevers, and lateral stabilizers.
1) Flashing & Roof Penetrations
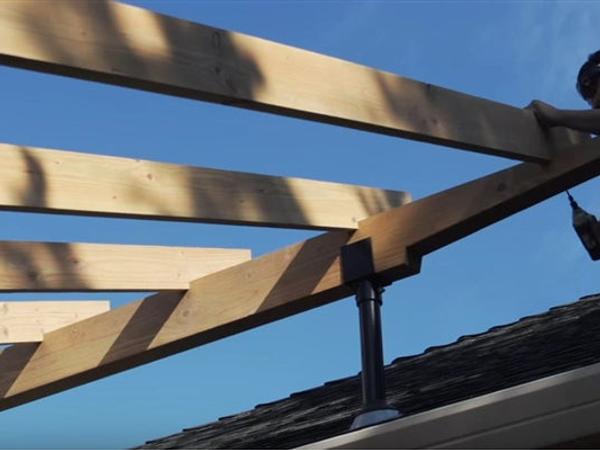
SkyLift risers pass through the roof, so the flashing detail is what protects the home long-term. Treat this step like any other roof penetration: use the correct flashing, install it cleanly, and integrate it properly with the roofing system.
Best practices
- Use a roof-compatible pipe-jack style flashing (including SkyLift’s UPF system if that’s what your kit uses)
- Inspect the boot for cracks, UV damage, tears, or loosening before finalizing
- Keep the flashing seated and integrated correctly with the roofing layers/cou
- rses so water sheds naturally
Watch: Flashing & Roof Penetrations (Video)
2) Layout & Bracket Placement
Accurate layout is what makes the finished roofline look clean and prevents “fix it later” framing.
Best practices
- Dry-layout riser locations before any roof cuts
- Keep spacing consistent and confirm alignment to the roof edge/gutter line
- Confirm you are landing where intended on the structure (verify framing alignment before fastening)
Watch: Layout & Placement (Video)
3) Pitch & Clearance Setup
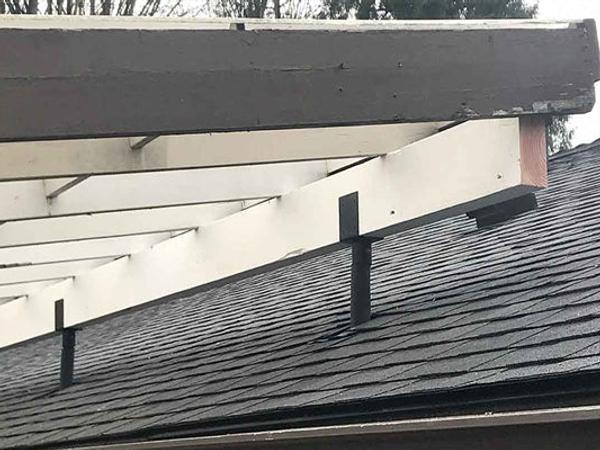
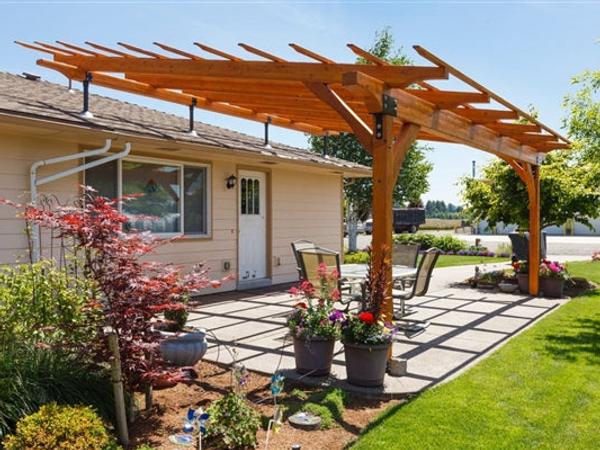
SkyLift is designed to help you achieve better pitch and above-gutter clearance—two things that dramatically improve performance and appearance.
Best practices
- Set pitch intentionally for drainage (don’t accept a low-slope compromise)
- Confirm clearance above the gutter/roof edge before locking in framing
- Re-check pitch and alignment after fastening and before roofing the cover
Watch: Pitch Setup (Video)
4) Cantilever & Framing Notes
Cantilever and framing choices affect deflection, feel, and performance—especially in higher wind or snow areas.
Best practices
- Keep cantilever within your plan requirements
- Reinforce framing where your design calls for it
- When needed, reference the Engineering & Technical Evaluation Reports for your configuration
Link: View Engineering & Code Documentation
5) Lateral Stabilizer Strap Instructions
Lateral stabilizer straps are used on certain builds to improve rigidity and control movement.
Quick steps
- Confirm your strap kit matches your SkyLift configuration
- Install at the specified locations
- Tension and secure per the instructions
- Re-check after framing is complete
Watch: Lateral Stabilizer Install (Video)
Download: Lateral Stabilizer Strap Instructions (PDF)
6) How To Flash Around Roof Risers When Re-Roofing
If a home with SkyLift risers is being re-roofed, start by evaluating the existing through-roof flashing.
Step 1: Inspect the boot/flashing
- The boot should be free of cracks, tears, or UV degradation
- If it’s not in near-perfect condition, replace the flashing during the re-roof
If replacing flashing (recommended when in doubt)
- Remove shingles to expose the existing flashing
- Remove the old flashing and install a new system per the flashing manufacturer’s instructions
- Integrate the flashing apro
- n correctly with the new shingle courses as you re-roof
If reusing flashing (only when the boot is in excellent condition)
- Carefully lift shingles around the apron to expose nails
- Remove nails without bending/distorting the apron
- Slide the boot up the riser slowly; gently rotate side-to-side to avoid inverting the boot
- Install new shingles up to the riser, then slide the boot back down and re-integrate the apron properly with the shingle courses
Watch: Re-Roofing & Flashing (Video)
7) Can the SkyLift Risers Be Cut Down?
In some projects, installers ask about reducing riser height. Modifying components can change geometry and installation fit, so treat this carefully.
Guidance
- Use the recommended configuration for your build whenever possible
- If modification is required, ensure the finished install still allows proper flashing/sealing and maintains correct alignment
- If you’re unsure, conta
- ct SkyLift before modifying components
Link: Ask an Installation Question
How to Build a Patio Cover using Skylift Hardware
Contractor Resources
Need documents for permitting or plan review?
- Engineering & Technical Evaluation Reports
- Fastener TERs & Approvals
- Drawings, Details & Specifications
Link: Open Document Library
Ready to build a patio cover you’re proud of?
SkyLift hardware is designed to integrate cleanly into a wide range of patio cover and pergola designs so you can deliver a better finished product with fewer compromises.